2")
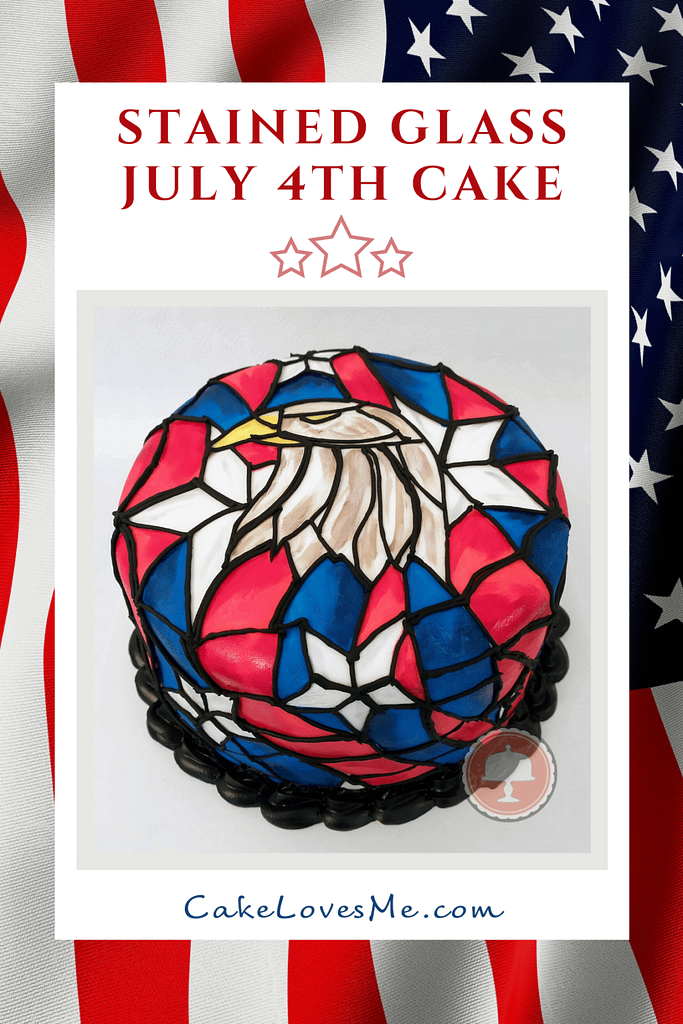
This cake honors America’s Independence Day. I absolutely love the 4th of July and the Stained Glass technique on cakes. I’ve always wanted to try it and thought this would be a unique idea for this holiday. Typically stained glass cakes feature floral designs that are beautiful and reminiscent of Tiffany windows that we all recognize and admire.
 3")
Accomplishing the stained glass effect was harder than I thought it would be but now I’m looking forward to doing it again. After trying any cake decorating technique once, you gain confidence. As the fear and frustration set in and you’re fretting throughout the whole process, something strange happens….you get excited and want to try it again because valuable lessons are learned which breeds a new love for that technique. Happy Staining!
 4")
Lessons learned – Stained Glass Cake
- Organization is key – I say this on all my pages. Get everything needed for baking and decorating laid out.
- Make sure you have your design sketch or grid/s sized and ready prior to doing your cake. I wanted to do an Eagle on top with stars then have the flag flowing down the sides with a few stars in between.
 5")
 6")
 7")
- Will you be pressing your sketch or using an edible marker through partially cut parchment paper? Do what works for you. I used a pressing method with a fondant tool (over a hand-drawn template) but it was hard to see on white fondant.
- Do not press too hard outlining the sketch onto the fondant otherwise, it creates air pockets and bulging under the fondant. I pressed a little too deep on some of my lines because it was hard to see. This is a mistake. I will adjust the pressure next time. You can also use an edible marker to show your design on the cake.
Royal Icing can be tricky
There are various recipes for royal icing so use one that works for you. It is advisable to be aware of using icing or frosting with egg whites. Pregnant women, babies, or the elderly may have compromised health concerns. Know your audience and the risks here. This Royal Icing recipe is made with Meringue powder. This Royal Icing recipe has egg whites.
 8")
- Have a full proof royal icing recipe that is suitable for piping the stained glass effect. I used the recipe with egg whites. The icing must not be too runny or it will drip off your cake. Make sure it is a toothpaste consistency or you will have a big mess on your hands. Be sure to practice your piping on parchment paper and not on your cake surface to start. The icing color needs to sit/set for hours or overnight to get the deep black.
- Remember – so important, **black royal icing STAINS like no other color. If you smear the icing outside the gridline then it will be difficult to “erase it”. There is really no erasing. Try lightly scraping the icing off the surface after it’s dry with a sharp-tipped knife. Then you can use a tiny bit of water or vodka on the tip of a paper towel to wipe the black smudge. Let this dry. Then go over that area with more paint -again after it’s dried. This may help.
 9")
 10")
 11")
- Will you hand paint, sponge, or airbrush your colors prior to doing your gridlines? Determine prior and get everything you need ready.
- Do variations of light and dark colors within the grid sections. Stained glass is not one hue saturation. It’s light and dark to resemble sun shining through. I went a little dark to start so next time I’ll go lighter but I was still able to do extra painting later to show lighter values in the paint.
 12")
 13")
 14")
- With a steady hand, take your time. Rushing the design only brings mistakes. The stained glass technique is following your gridlines, staying within the “outlines” and on point, literally.
- After practicing on parchment paper, start your stained glass piping at the back of the cake. Work your vertical piping from the top down. The same goes for the horizontal piping-from left to right. Depending on if you are right or left-handed, you have to figure out what is most comfortable for you. Never use your cake surface as a “first attempt”.
- If need be you can touch up the colors with thin paintbrushes in sections after piping the black outlines. If you do this be careful not to bump or crush your royal icing as it will be hard to fix.
 15")
- Naturally, until you are practiced with the stained glass technique mistakes will happen. Don’t panic, with any mistake there are creative ways to fix it or cover it up. Perfection takes doing – over and over again.
 16")
I hope you found this post helpful.