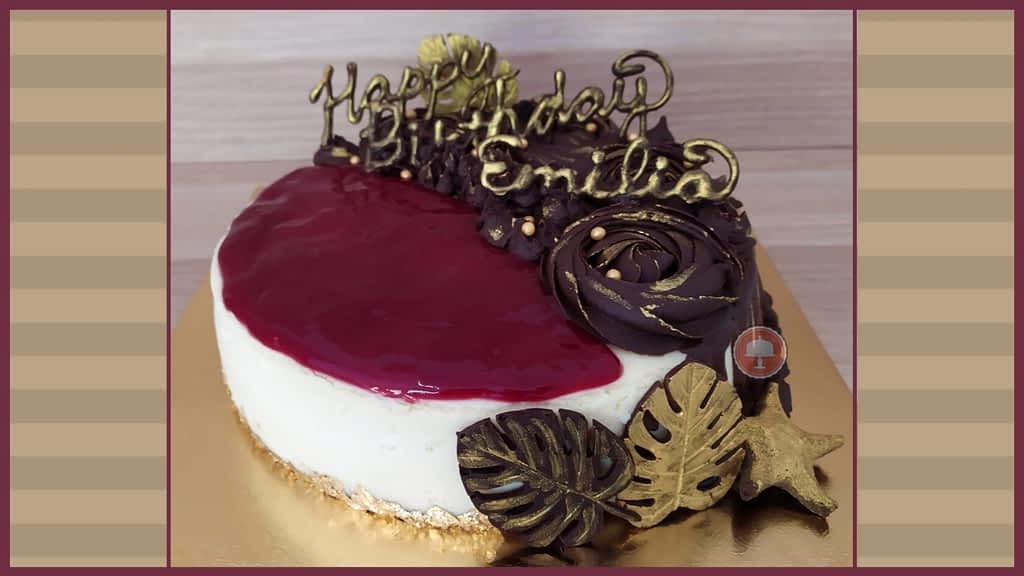
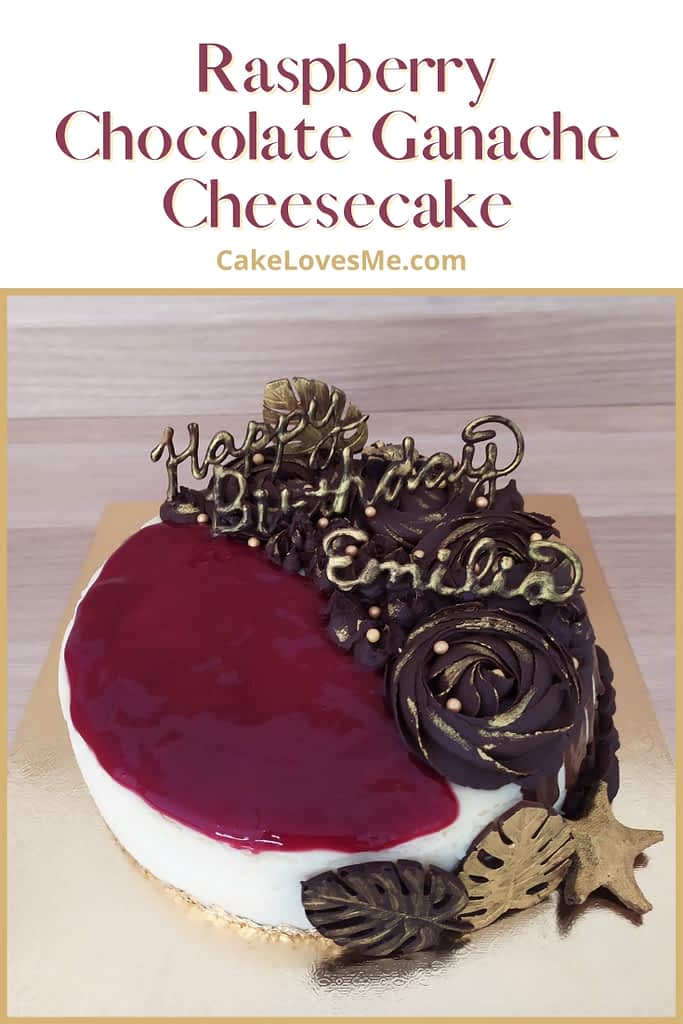
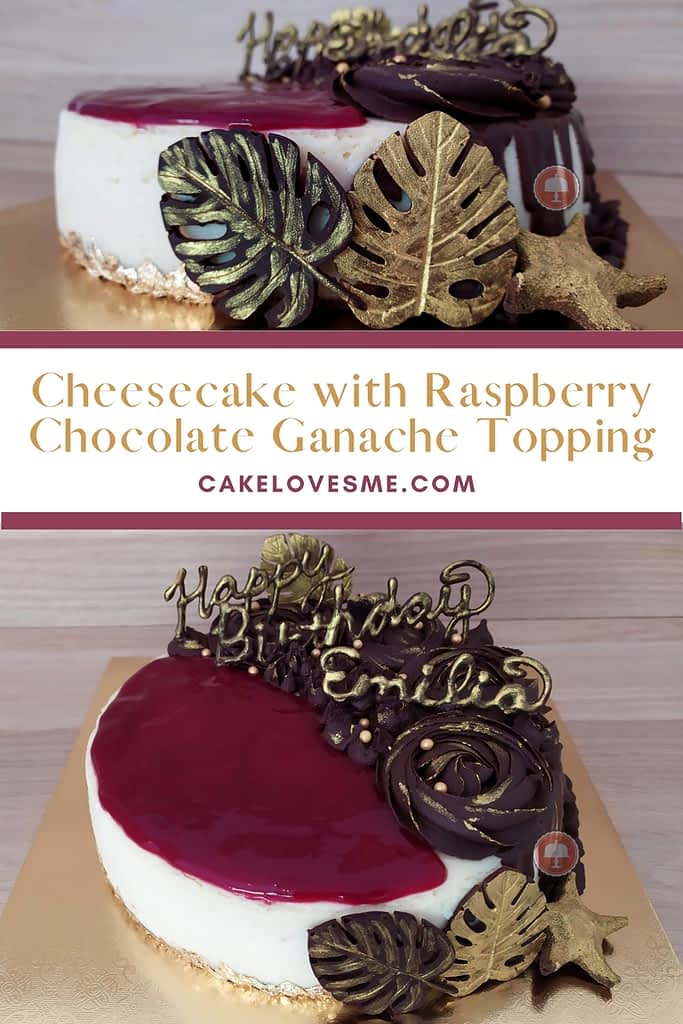
Ahhh Cheesecake…such a fan favorite for any occasion. This cheesecake with chocolate ganache will have you wanting more! I started with a light and fluffy cheesecake with gram crackers and waffle cookie crust topped with fresh raspberry sauce, chocolate ganache drip, piped chocolate ganache, chocolate lettering, and gold-accented chocolate decorations.
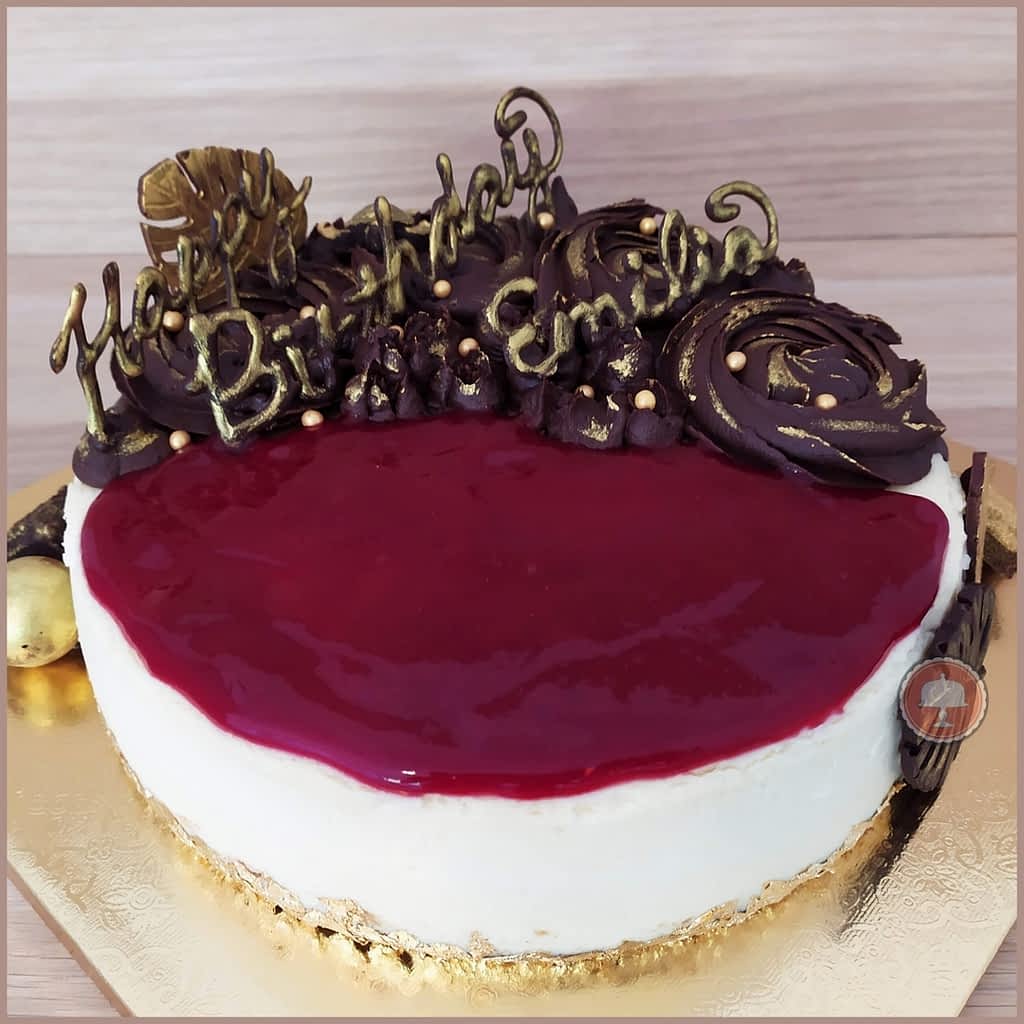
Emilia didn’t want a typical birthday cake. She wanted a decorative cheesecake with raspberry sauce, chocolate, and gold accents. Every step of doing a decorative cheesecake is a process that takes much time and patience.
The Perfect Cheesecake
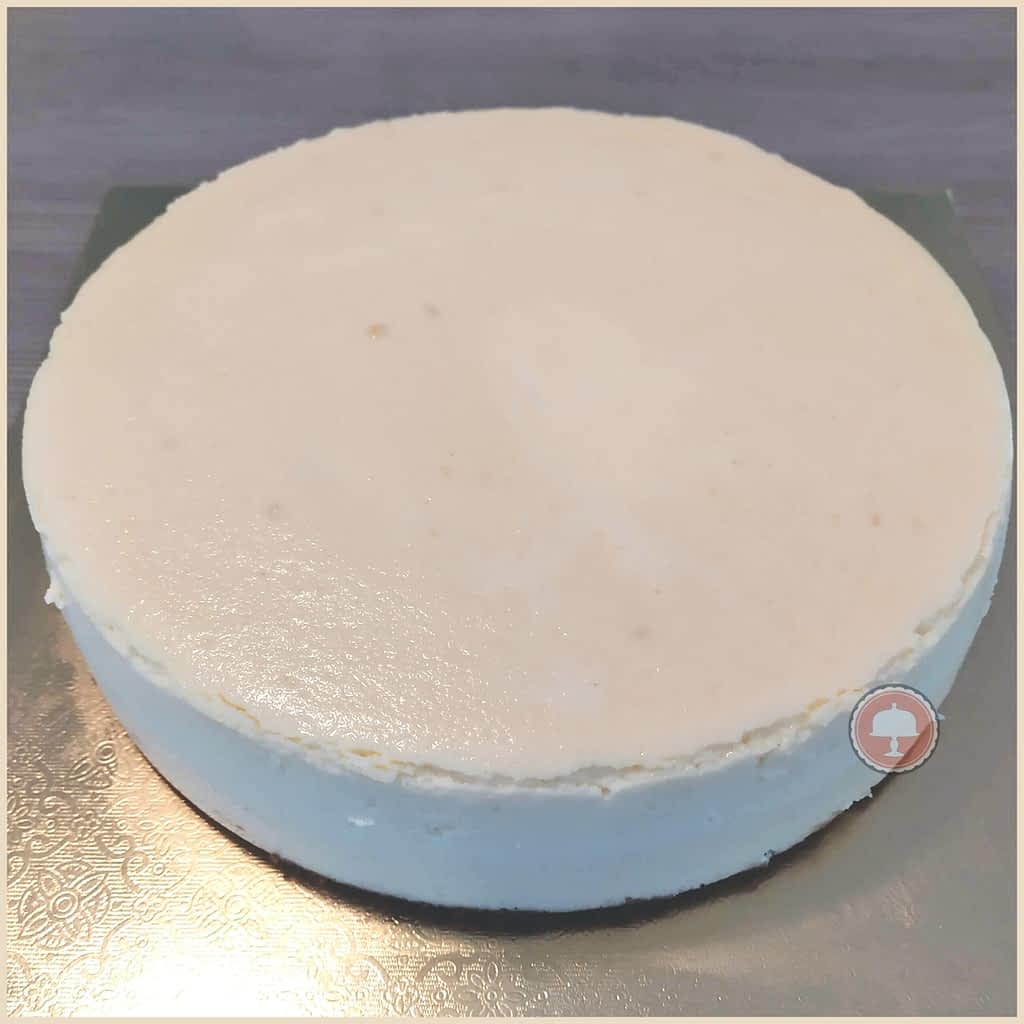
Bravo to every baker and cheesecake that comes out near perfect! A cheesecake with no cracks, no craters, no bubbles, no sinking, perfect color, consistency, not overcooked, not undercooked, no over-browned top, no water leakage from a water bath, no soggy crust, and transfers off the pan without fail of any kind is a huge accomplishment in my book.
The delicacy of this dance is one you must practice many times and with much practice, you will have the power!
10 Tips for a Successful Cheesecake
*Study all best practices for making cheesecakes. There are different methods out there and it’s prudent to read about them. Many recipes are missing basic do’s and don’ts so studying up on what works will serve you well.
Practice recipes and find one that works best with clear steps of execution. However, just because the recipe doesn’t tell you to do important “cheesecake baking steps” doesn’t mean you shouldn’t do them!! This is why you should study all practices for making cheesecakes. The recipe alone will not always give you all the tips and tricks.
Use a springform pan always. It would be impossible to remove a cheesecake if it’s in a regular cake pan.
I swear by the bain-marie method. Doing a water bath helps distribute moisture so your cheesecake cooks evenly while not taking on a rubbery texture.
Leak-proof your pans from water leakage. Many use just a heavy foil wrap on the pan bottom and submerge the pan in the water bath. This works for many people. For me, this never was guaranteed for no water leakage because it still happened to me on occasion. So aggravating. I needed a guarantee. So..I still foil wrap my cheesecake pan and put the cheesecake into another slightly larger round pan submerged in the water bath. NO water can seep in at all – booyah! It will never happen to you again if you do this. The water bath still does its job emitting moisture and the cheesecake turns out great – that is if you did everything else correctly…haha.
Use room temperature ingredients. Do not cheat time on this. Room temperature ingredients trap air in the dairy ingredients forming an emulsion allowing for an even, smooth blending creating a light fluffy cheesecake with no lumps.
Do not over-mix the batter at any stage. I cannot stress this enough. Think of it this way…for every ingredient going in one at a time you are mixing each time. This is already a lot of combined mixing. So…just mix each ingredient until lightly blended and resist the urge to over mix!!
Use a recipe with flour and/or corn starch. Using flour and/or cornstarch helps make the cheesecake denser and more solid.
Raspberry Cheesecake with Chocolate Ganache
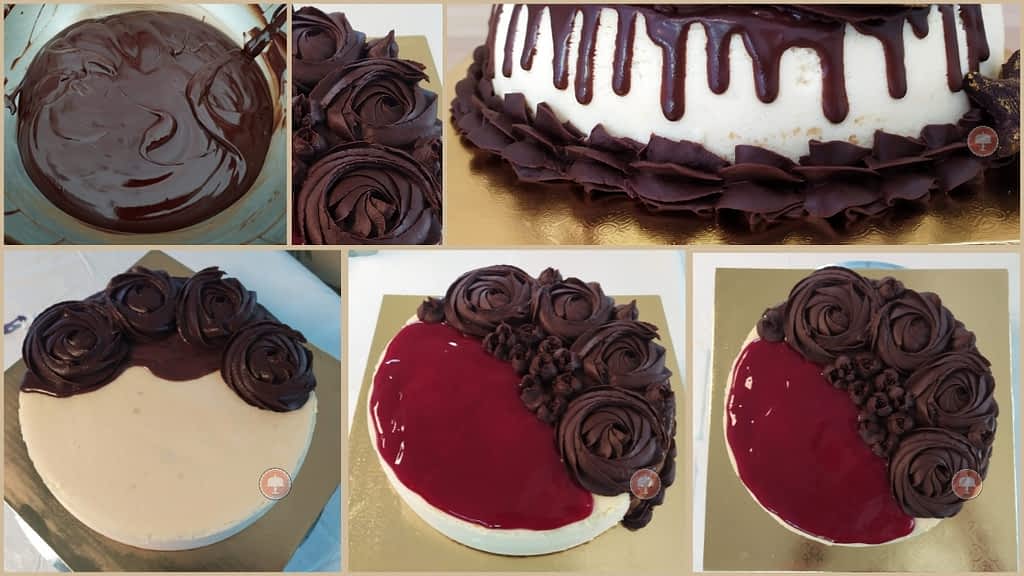
First comes the chocolate ganache drip then the thicker piped chocolate ganache rosettes and base border. I made the raspberry sauce the day before so it had time to gel and chill in the frig overnight. After carefully smoothing the raspberry sauce on the cheesecake it needed time back in the frig to chill. Every stage of this cheesecake needs chilling in between to safe keep the delicate decorations.
- Know your oven, use a thermometer inside to be sure of the correct temperature, and do not open the oven until close to the cooking time is done.
- How do you know when your cheesecake is done? Near the end of the cooking time use oven mitts to “jiggle” the pan. If the jiggle is only in the center slightly the cheesecake is done as this means it’s cooked but not overcooked. The cheesecake will now need time to set and come to complete room temperature then it needs to be chilled for several hours or best chilled overnight.
Chocolate Ganache, Lettering, and Gold Accents
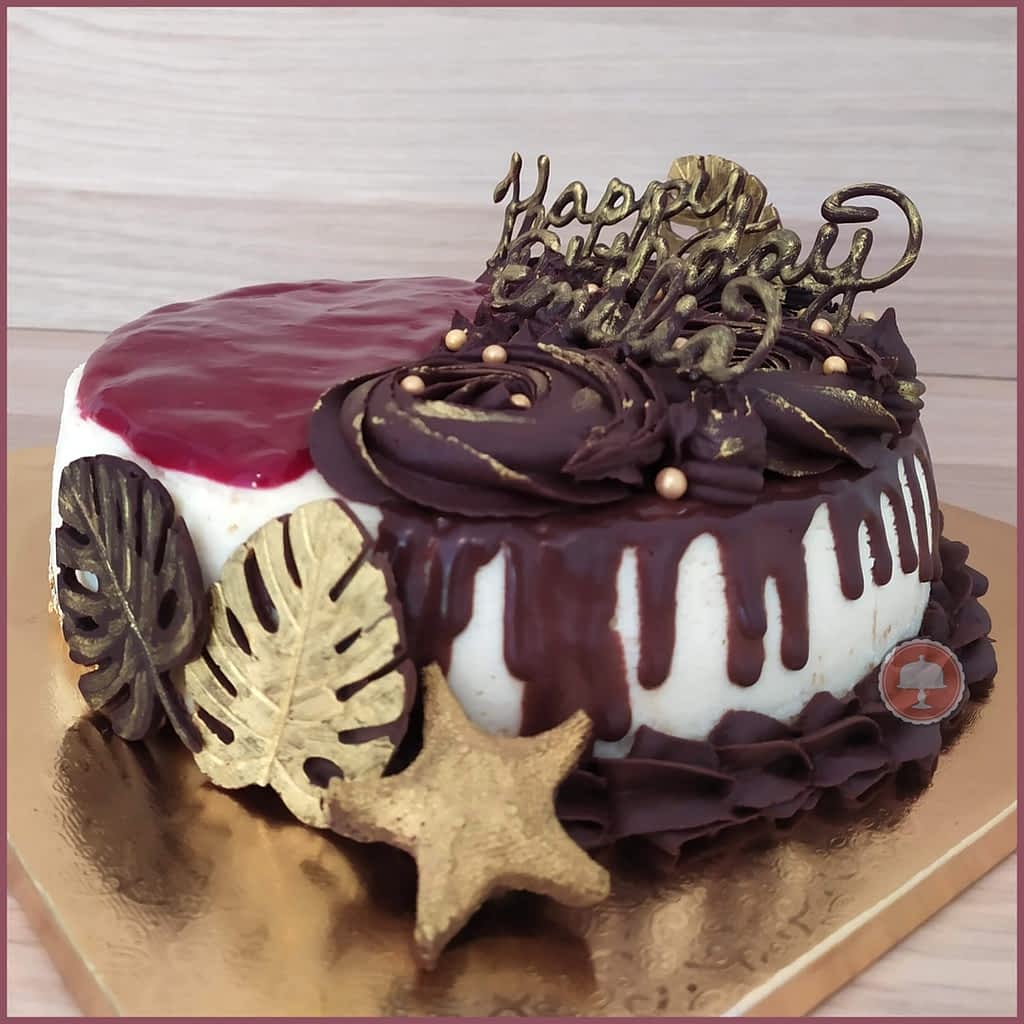
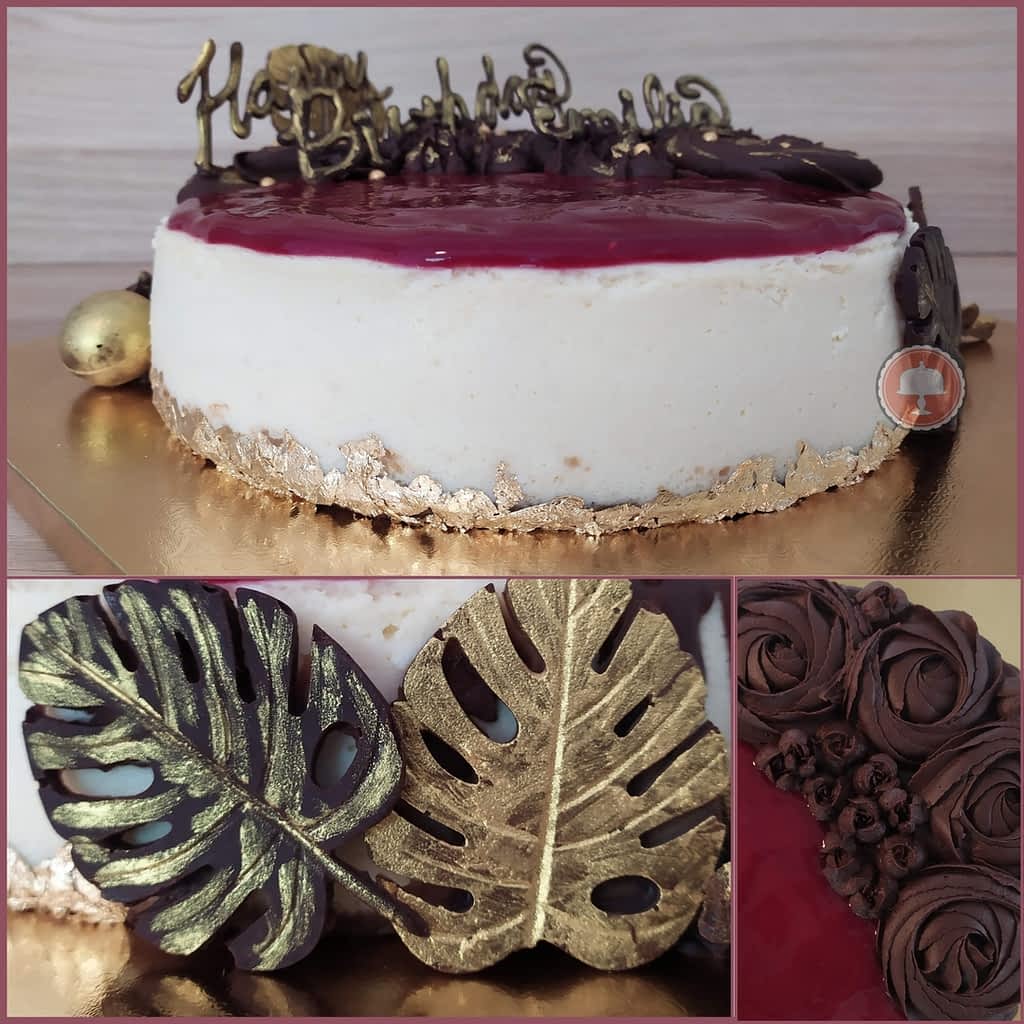
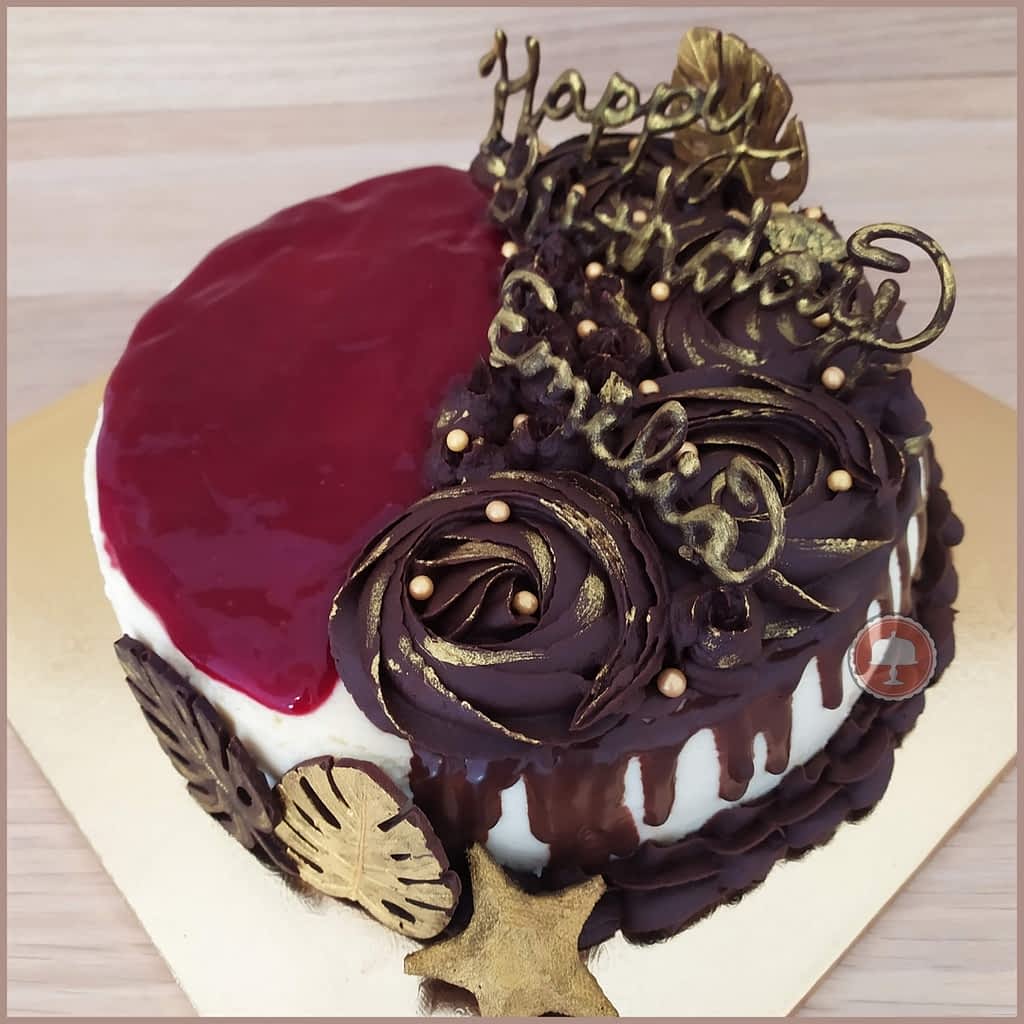
After the chocolate ganache drip, piped chocolate ganache, and raspberry sauce were applied it was time to position the chocolate lettering, chocolate molds, and gold accents. The chocolate lettering is melted chocolate piped onto parchment paper and placed in the freezer. When I was ready to position the lettering only then did I remove them from the freezer.
Handling the lettering too much will make the letters melt. Warm piped chocolate ganache was used to adhere the lettering to the chilled chocolate rosettes. It was not easy to stand them up at an angle. Gold luster dust, edible gold leaf flakes, and gold sprinkles were used to accent the chocolate molds, ganache, and one base side of the cheesecake.

Classic New York Style Cheesecake
Equipment
- 10" springform pan
- High Edged -Round Cake Pan 2 sizes larger than your 10" Springform Pan
- High Edged/Deep dish pan or deep oven tray
- Hot water kettle
- Parchment Paper
- Hand Mixer
- Mixing Bowl
- Thin Bowl Spatula
- Aluminum foil
- Disposable food safe rubber gloves
- Cake board, cake platter, or plate
- 1 Thin plastic cutting board
Ingredients
- 4 cups Full fat creamcheese Room Temperature
- 5 Large Eggs Room Temperature
- 2 cups Full fat sour cream Room Temperature
- 8 tbsp Real butter Room Temperature
- 1 1/2 cups Granulated Sugar
- 2 tbsp Cornstartch Mix cornstartch and flour together
- 2 tbsp Flour Mix cornstartch and flour together
- 1 1/2 tsp Pure Vanilla Extract
- 1 1/2 tsp Freshly squeezed strained lemon juice Strain pulp
Graham crackers and waffle cookie crust
- 3-4 tbsp Unsalted Butter Melted
- 1 1/2 cups 1/2 Graham crackers & 1/2 Waffle Cookies Waffle Cookies are optional
- 1 tbsp Granulated Sugar
Instructions
Making the Crust
- Preheat oven to 325 degrees F
- Make graham cracker & waffle cookies crumbs (optional) by pulsing in a food processor until finely ground. If you don’t have a food processor, place the graham crackers & waffle cookies in a heavy-weight Ziploc bag and crush them with a rolling pin until finely ground. **Using waffle cookies is an added treat and stabilizer to the graham cracker crust but it's still great by itself.
- In a small bowl, combine all the crumbs and sugar before stirring in the melted butter. If you add all three ingredients at the same time, the sugar can clump. With gloved hands mix the crumbs with sugar and melted butter. Combine with your fingers for even distribution. Make sure that all crumbs are moistened but not over-saturated before putting them into the pan. Set aside for a minute.
- Tightly wrap 2 layers of aluminum foil around the outside of the springform pan covering the bottom and sides. Lightly grease the whole pan/sides with real butter, insert a round parchment paper circle and lightly grease the top. (This bottom liner will help later to slide the cheesecake off the pan onto another serving plate or cake board before serving.)
- Press crumbs into the bottom of a lightly buttered parchment paper-lined springform pan. Pack the crust down (approx. 1/4" thick) to avoid crumbling after it is baked. Press the crust down using your fingers or a straight-sided flat object like a measuring cup or a flat glass.
- Bake the crust for 10 minutes until golden brown. Then remove from the oven and cool on a rack. Cool completely at room temperature and do not remove the crust from the pan while cooling and do not remove the foil.
Cheesecake Filling
- Preheat oven to 325 degrees F
- Place your foil wrapped springform pan with cooled crust into your other larger round cake pan. This is to keep the water bath from seeping into the springform cheesecake pan. Be ready with your deepdish pan or deep oven tray for the water bath. If you're using a deep oven tray place in the preheated oven now.
- With your mixer, beat cream cheese and butter until smooth. *don't overmix.
- Add eggs one at a time until blended.
- Add sour cream until smooth
- Add sugar, cornstarch & flour mix, vanilla, and lemon juice, and mix until smooth, about 2 minutes. Avoid overmixing.
- Heat a full kettle of water to boiling and have it ready to pour.
- Pour the cheesecake batter into your springform pan (inside a larger cake pan) and place in a another deepdish pan so the sides are not touching OR place on your deep oven tray inside the oven.
- With the oven door still open carefully & slowly pour your hot water into the deep dish pan/oven tray. Fill the tray as high as you can (without reaching the cake pan side top) with hot water. Take extra precautions not to splash water on top of the cheesecake or burn yourself pouring or touching the heated oven sides or door.
- Close the oven door and bake for 2 hours. Do not open the door during this time.
- After two hours you can open the oven door and with oven mits jiggle the pan a little. If the jiggle is mostly focused in the center your cheesecake is done. (If not bake for an additional 5-10 minutes until you see this. **Watch closely and be careful not to overbake!!) Close the door, turn off the oven, and keep the cheesecake in for another half hour then open the door for another half hour.
- Remove the cheesecake (still inside the larger cake pan) and place it on a hot pad. After the larger pan cools a bit carefully lift the inner cheesecake/pan from the larger cake pan and place the main cheesecake pan on a wire rack to cool for several hours to room temperature. You can also remove the foil wrap (only) to speed cooling whilst not disturbing the cheesecake. Handle each step very carefully and try not to allow your fingers to dent or crush the cheesecake top during removal. Do not jostle or shift the cheesecake too much.
- Once your cheesecake is 100% cooled and at room temperature place it in the refrigerator overnight. **Your cheesecake is still in the 10" springform pan. You can tent foil over the top of the cheesecake just to lightly cover without touching the top!! because it will stick.
- The next day remove the cheesecake from the refrigerator. You'll see the cheesecake has settled and most likely released slightly from the sides. If need be take a thin spatula and gently & slowly edge around the sides of the pan. Release the springform latch and lift the edge piece up and away. Avoid scraping the side of the cheesecake. Your cheesecake is still on the pan base.
- Now is the really tricky part!! You need to remove the cheesecake off the pan base whilst keeping the cheesecake in tact, cookie crust base, and parchment paper or foil (which is not removed at any time) without cracking or damaging the cheesecake. With a thin plastic cutting board gently edge the board under the parchment paper underneath the whole cake. Gently lift up the cheesecake removing it from the pan base. Lower the cheesecake (still on the thin cutting board) onto the edge of the cake platter. Use a large flat spatula to gently slide the cheesecake (from under the parchment paper) off the cutting board onto the cake platter. Phew, you're done! congratulations!!
- Now decorate as you wish with fresh fruit, chocolate genache, creamcheese frosting or whatever your heart desires.
- Always hand wash your cake pans as the dishwasher can ruin bakeware.
Nutrition

Instructions
10 Tips for a Successful Cheesecake
- Study all best practices for making cheesecakes. There are different methods out there and it's prudent to read about them. Many recipes are missing basic do's and don'ts so studying up on what works will serve you well.
- Practice recipes and find one that works best with clear steps of execution.
- Use a springform pan always.
- I swear by the bain-marie method. Doing a water bath helps distribute moisture so your cheesecake cooks evenly while not taking on a rubbery texture.
- Leak-proof your pans from water leakage. Many use just a heavy foil wrap on the pan bottom and submerge the pan in the water bath. This works for many people. For me, this never was a guaranteed for no water leakage because it still happened to me on occasion. So aggravating. I needed a guarantee. So..I still foil wrap my cheesecake pan and put the cheesecake into another slightly larger round pan submerged in the water bath. NO water can seep in at all – booya! It will never happen to you again if you do this. The water bath still does its job emitting moisture and the cheesecake turns out great – that is if you did everything else correctly…haha.
- Use room temperature ingredients. Do not cheat time on this. Room temperature ingredients trap air in the dairy ingredients forming an emulsion allowing for an even, smooth blending creating a light fluffy cheesecake with no lumps.
- Do not over-mix the batter at any stage. I cannot stress this enough. Think of it this way…for every ingredient going in one at a time you are mixing each time. This is already a lot of combined mixing. So…just mix each ingredient until lightly blended and resist the urge to over mix!!
- Use a recipe with flour and corn starch.
- Know your oven, use a thermometer inside to be sure of the correct temperature, and do not open the oven until close to the cooking time is done.
- How do you know when your cheesecake is done? Near the end of the cooking time use oven mitts to "jiggle" the pan. If the jiggle is only in the center slightly the cheesecake is done as this means it's cooked but not overcooked. The cheesecake will now need time to set and come to complete room temperature then it needs to be chilled for several hours or best chilled overnight.
Cheesecake Inspiration
Cheesecake design does not have to be boring! Get that creativity going and do something that will wow the crowd. Check out my Italian Ricotta Cheesecake for more cheesecake inspiration.
What happens when you overmix a cheesecake?
Over mixing will cause more air in your batter. While cooking the air bubbles will burst and the cheesecake can crack or sink.
What kind of chocolate should I use for ganache?
Ganache can be made by any chocolate but it’s best to choose a high quality chocolate between 40-60% semi-sweet or dark chocolate. Avoid milk chocolate as it has cream in it and ganache is better with a deeper chocolate.

