There are so many ideas and themed cakes out there. The options are endless. It’s always a mystery what people will ask for. Will it be a super-hero cake, a unicorn cake, a valentine cake, a sports cake? What strikes their fancy? I can’t wait to hear the ideas. All the cake requests I get are different and making each cake “one of a kind” is my ultimate goal.
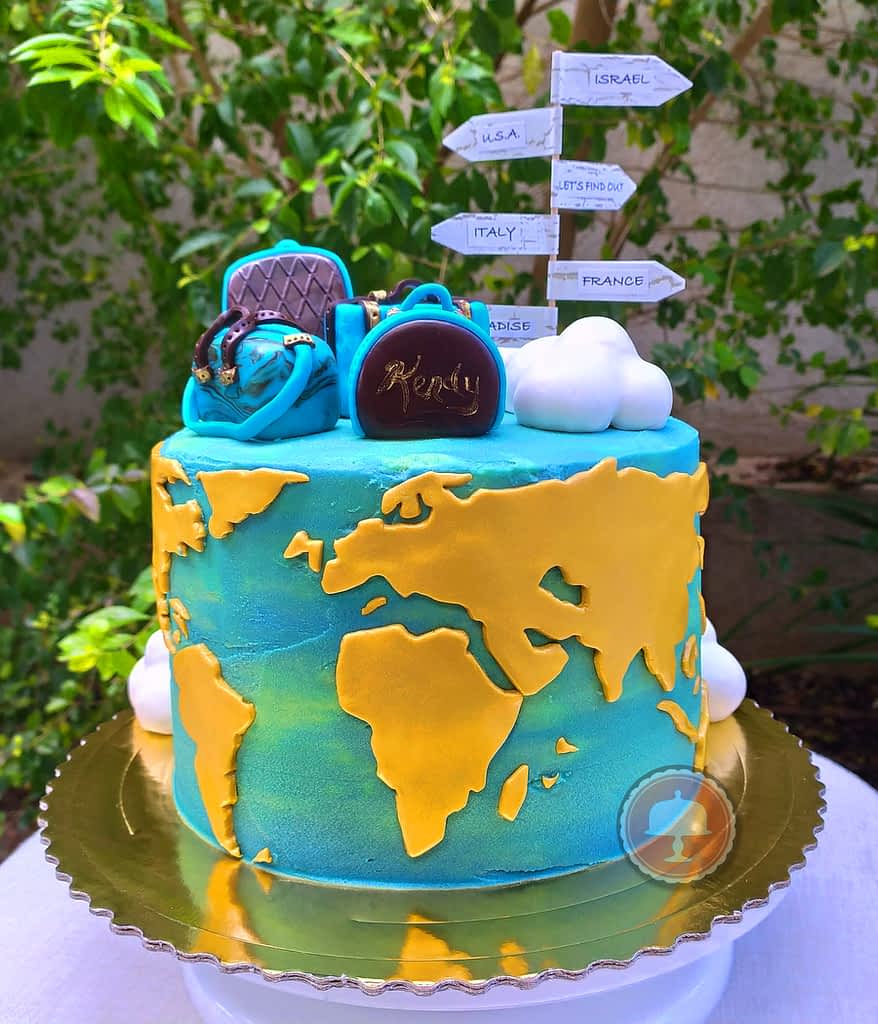
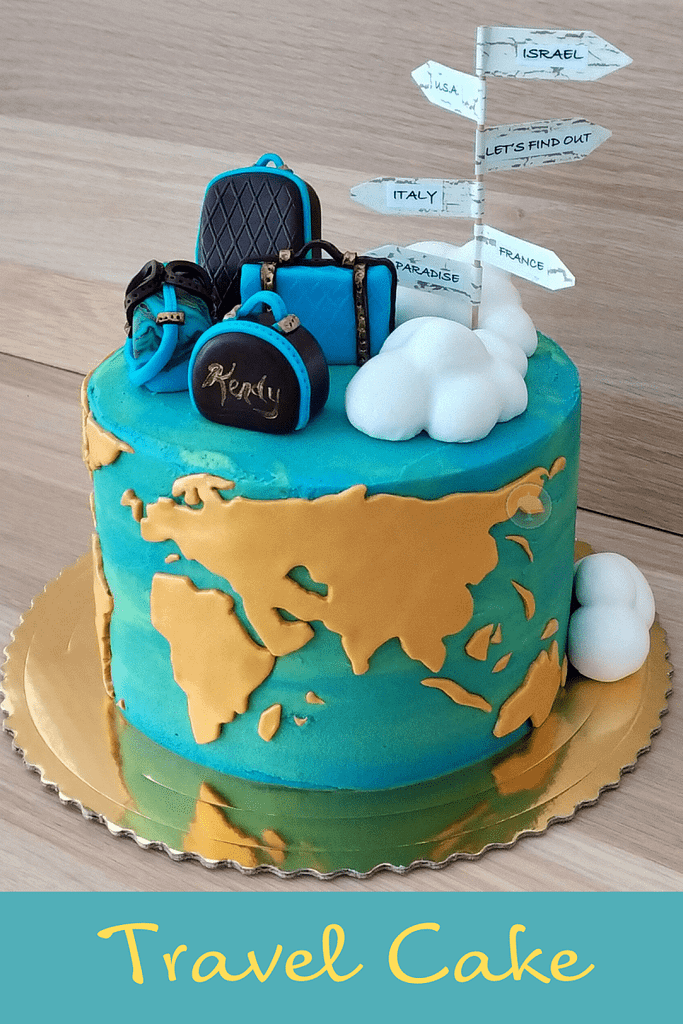
This was my first Travel Cake, sometimes referred to as a Bon Voyage Cake. I was super excited to get started. Kendy sent me a reference photo as she loves to travel. We discussed the cake flavor, color scheme, cake size, and a few other details. Some people want cake designers to duplicate an exact photo of another cake. This is understandable however, I make it a point to let them know that while keeping their wishes and concept intact I will make some changes to put my own “flare” into the cake design.
Cake Fondant Planning
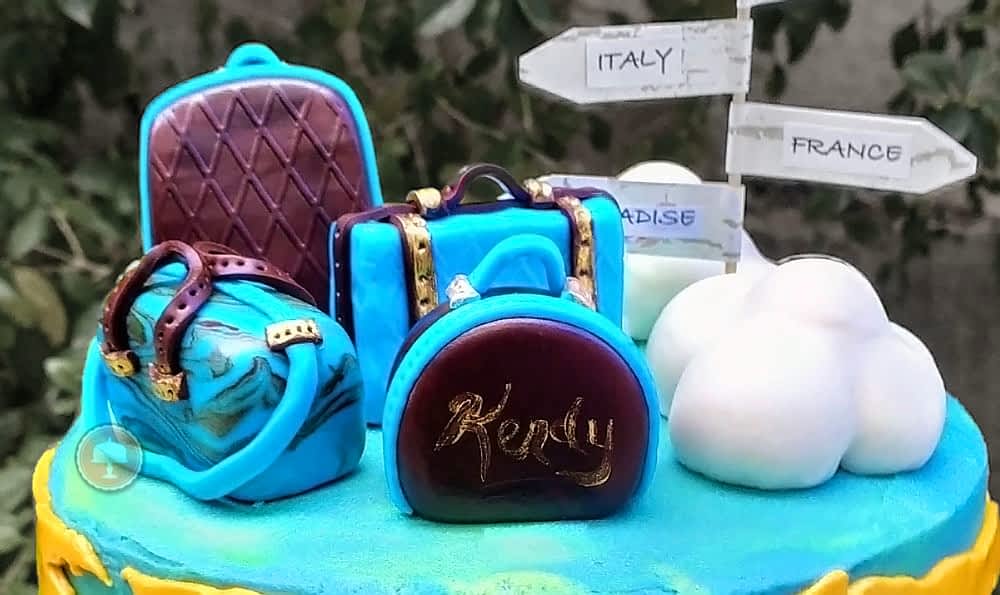
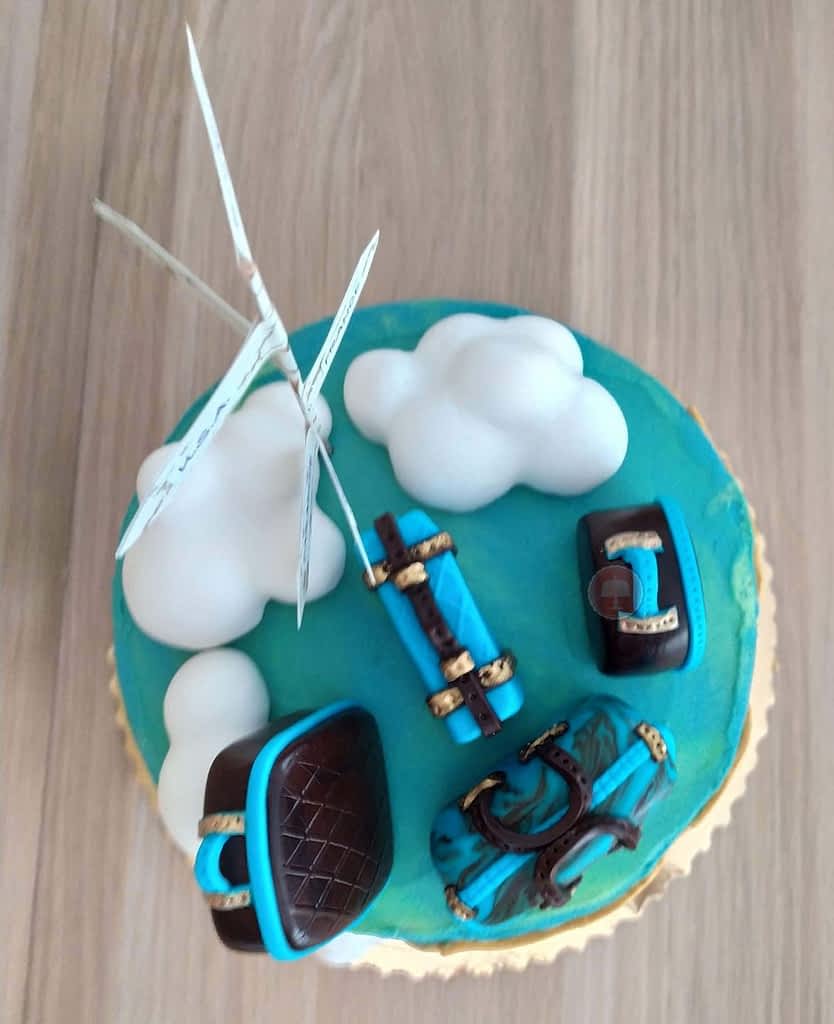
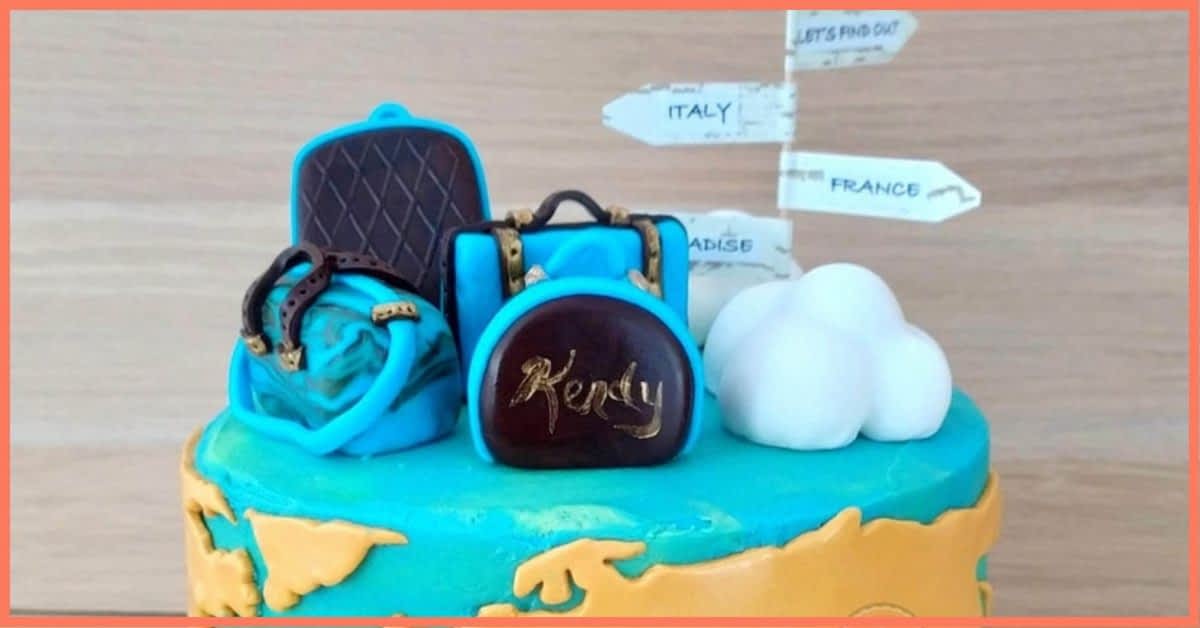
Search for pictures of luggage you like. That’s all I did. I played around with a few shapes. Mold little rounded blocks, squared, or rectangle shapes. Cut thin strips for the handles, use the fondant tool with the pinpoint tip to make little holes to resemble stitching. With your paintbrush paint the buckles and write a name on the luggage piece of your choice. I made a little hat box with Kendy’s name on the front.
For the cloud cake toppers, roll up little balls of fondant. I sized them to “gumball” size and made a few that were bigger for the base. Stack the little balls on the big ones. Roll out a white piece of fondant that covers the stacked balls. haha…can’t help to laugh at this…ok. Smooth the white cover over and tuck under the cloud base. I call them cloud bundles. Play around with the sizes. The cloud bundles on top of my cake helped support the back of the tall suitcase.
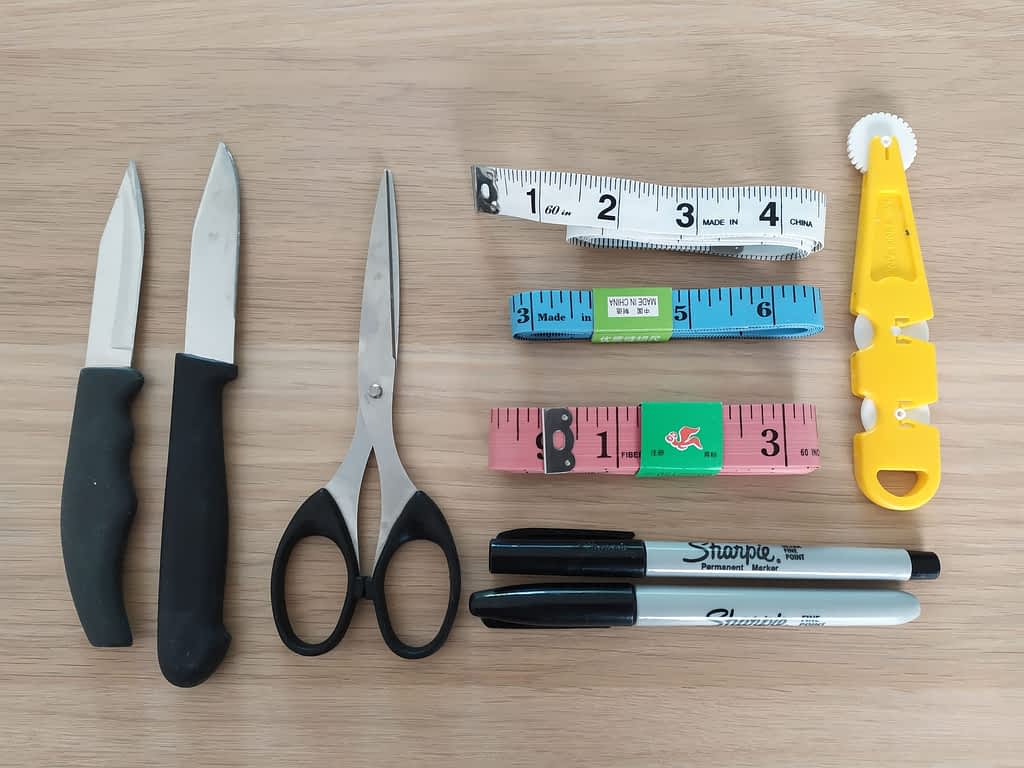
Cake Tools Needed
To make travel cake decorations, you will need:
Exacto knife, fondant mat/s, fondant toolset, small rolling pin for fondant, extra small diamond textured rolling pin to make pattern impressions on the luggage, edible glue, airtight containers to fit your molded items, gold, light blue, chocolate brown and white fondant, grill sticks, a patterned paper of your choice, country names printed, glued & cut to signage size, a small paintbrush, gold luster dust with a few drops of vodka for name writing, to touch up buckles and straps on the luggage.
Careful planning helps with the design flow. Time to get organized. Get all cake and fondant tools ready. See tools below. As always I assess what can be done ahead of time. Making the luggage cake toppers in advance was key along with the country sign. I chose a complimentary light blue and chocolate brown fondant color scheme for the luggage and used a tall grill stick for the sign made with printed country names for each flag mounted to decorative paper.
Writing the country names on the flags is fine as well but for me, I prefer a cleaner look with copy printing. Kendy wanted the global map in gold and the outer base buttercream color to be blue. She didn’t want the ocean blue to look too “boyish” so I added a light green in the mix to balance the blue. I was going to use white fondant and paint it gold for the map but then I found glitter-gold fondant! This saved some time.
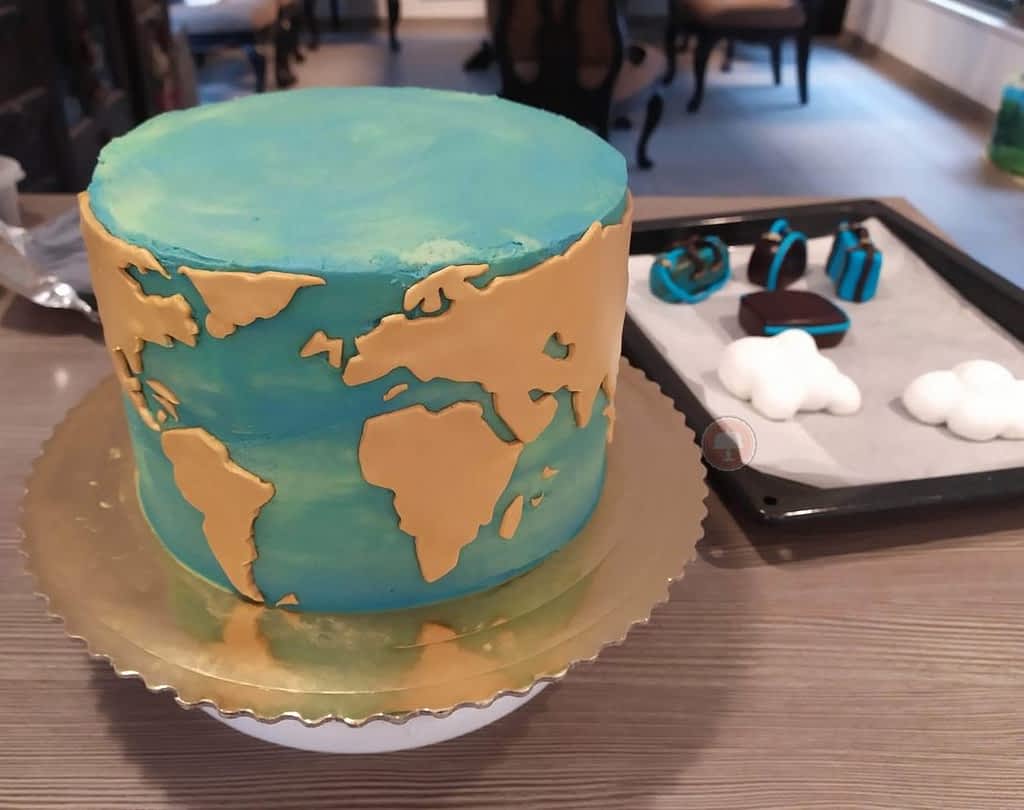
I printed a global map for this travel cake, sized it to the estimated height of a 3 layered red velvet cake -12″-14″ depending, cut it out, and used it as a template on the gold fondant. I’ve done many cakes so I knew prior to what the cake height would be. You can choose to wait until your cakes are stacked and frosted to measure the map size to print as a template. After cutting the gold fondant map (this was time-consuming), I transferred it to parchment paper and stored it in an airtight container until I was ready for it.
3D Fun Travel Cake Toppers
Next, I made a few different sized cloud bundles for the top and sides of the cake. After frosting the cake and applying the map it was time for the toppers. I played around with the layout of the luggage and cloud bundles on parchment paper (laid over the cake pan) before applying to the top of the cake. Take a picture if need be so you can duplicate it.
Cake Layout
It is always best not to do the first decoration layout on the cake itself. Sometimes you cannot hide indentations or mistakes if you change your mind and want to move things around.
After attaching the luggage, cloud bundles and signage stick to the top of the cake it was pretty much complete. I just added two cloud bundles to the back of the cake and it was done.
Decorating Tips and Tricks
Take small breaks in-between each phase of decorating. Like an artist- stand back, look at your canvas, ask yourself if this the way you want everything to look. Going too fast, not looking at your work or alignment will cause you to make mistakes. So stop, breathe, look, and access. Don’t forget to take pictures or videos of your entire creative process. Inquiring minds want to know! Be sure to check my other cake baking tips and tricks.
Latest Cake Decorating Ideas
Thanks for visiting & Happy Baking!
Be sure to check out some of my other cake decorating and baking posts for new inspo


